Smart Home Starter Kit: What to Buy First (and What to Skip)
The hardest part about starting a smart home isn’t finding things to buy. It’s knowing what to buy first, in what order, and how to avoid the thing that happens to most beginners: spending $300 on devices that don’t quite work together and then losing interest before you’ve actually built anything useful.
A decent smart home starter kit in 2026 doesn’t have to cost much. You can get a genuinely functional setup — voice control, automated lighting, remote access, and a working routine or two — for under $150. This guide breaks down exactly what to buy, in what order, and why.
The Principle Behind a Good Starter Kit
Before the shopping list: the most common mistake is buying devices before picking an ecosystem. An ecosystem is the platform that controls everything — Amazon Alexa, Google Home, or Apple HomeKit. If you don’t pick one first, you’ll end up with devices that each live in their own app, won’t talk to each other, and can’t be combined into automations.
Pick one ecosystem, and then buy devices that work with it. That’s the whole principle. Everything else is detail.
For most people starting out in 2026, Amazon Alexa is the practical default — it has the widest third-party device support, the cheapest entry-point hardware (an Echo Dot costs around $30), and a well-established app for building routines. If your household uses iPhones and you care about privacy, Apple Home is the better choice but requires a HomePod or Apple TV as a home hub. Google Home sits in the middle — better voice assistant, good device selection, works across Android and iOS.
The Starter Kit: What to Buy and In What Order
Step 1: A voice speaker (~$30–50)
This is the hub — the thing you talk to and the thing that ties everything else together. An Echo Dot (Alexa) or Google Nest Mini (Google Home) is the right starting point for most people. Don’t buy an expensive model yet. The point of the first speaker is to learn the ecosystem and discover where you’d actually want smart control — not to fill a room with audio.
Put it in the room you use most. Living room or kitchen, usually. It’ll be the device you interact with daily while you figure out what you actually want your smart home to do.
Step 2: A smart plug (~$10–15)
Before you touch any lighting, get one smart plug and plug your most-used lamp into it. This is your proof of concept: a device you can control by voice, schedule, and app within five minutes of setup, for minimal cost.
Live with it for a week. If you’re actually using it — setting schedules, controlling it by voice, noticing when it’s not working — you’re a smart home person. If it sits there and you forget about it, you’ve spent $15 to learn something useful about yourself.
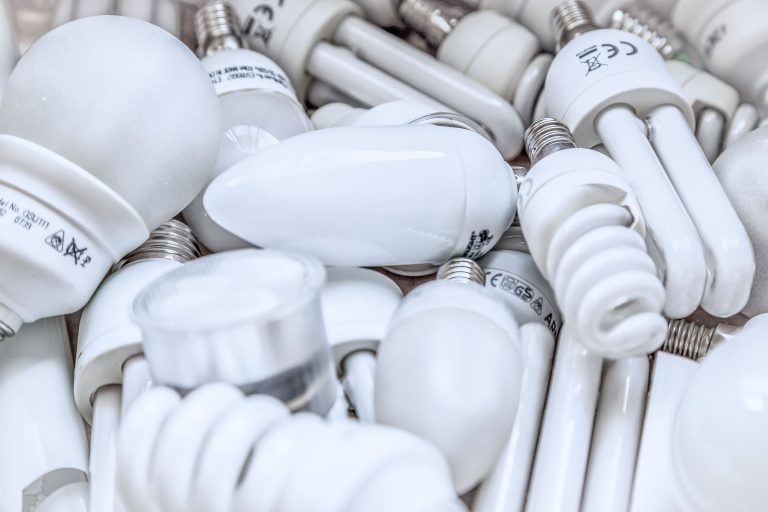
Step 3: Smart bulbs for the main room (~$30–50 for a 2–4 pack)
If the smart plug passed the test, move to lighting — the feature that converts most people. Two or three smart bulbs in the living room lamp and a bedside lamp gives you dimming, scheduling, and voice control where you’ll actually use them.
Don’t buy bulbs for every room yet. Start with two, learn the app, set up a basic schedule (on at sunset, off at 11pm), and see how it changes your daily routine. Most people underestimate how much they’ll use “Alexa, turn off the lights” when they’re already in bed.
Look for Matter-certified bulbs if you can — they’ll be compatible with any ecosystem and give you flexibility if you ever switch platforms later. WiZ, LIFX, and Nanoleaf all make affordable Matter options in 2026.
Step 4: Your first automation
At this point you have a voice speaker, a smart plug, and some bulbs. The next step isn’t buying anything — it’s setting up a routine.
A “Good Night” routine is the one that converts the most sceptics. One phrase (“Alexa, good night”) turns off all the lights and sets the thermostat back if you have one. You stop doing the last walk through the house before bed. Small thing, daily benefit, zero extra hardware required.
This is also where you discover whether you’re the kind of person who enjoys building automations (in which case, you’re going to end up spending more money on this) or someone who just wants the basics to work (in which case, what you have is already enough).
Step 5: A smart thermostat — if you have central heating/cooling (~$100–250)
If your home has central HVAC and you commute daily, a smart thermostat is the next most impactful upgrade. The energy savings are real — typically 10–15% on heating and cooling costs — and the convenience of geofencing (home automatically warms up before you arrive) is genuinely useful rather than just novel.
This is an optional step — skip it if you rent without landlord permission, if you don’t have central HVAC, or if your bills are already low. But for homeowners with gas heating or central air, it’s the single upgrade with the clearest financial return.
What to Skip for Now
A few things that beginners often buy first and regret:
Smart switches — more powerful than bulbs for multi-bulb fixtures, but require wiring and a neutral wire. Not where to start. Come back to these once you know which rooms matter.
A dedicated smart home hub — you don’t need one yet. Your voice speaker acts as a hub for the basics. A Home Assistant becomes relevant when you’re managing 20+ devices across multiple protocols. Not day one.
Smart cameras — useful, but a separate category that adds complexity and subscription costs. Better to get the core setup working first.
Cheap no-name devices — the price difference between a known brand and a random marketplace product looks appealing upfront. The experience difference in reliability, app quality, and update support is significant. Start with brands you’ve heard of.
What This Costs
A practical starter kit at three budget levels:
Under $80: Echo Dot (~$30) + 1 Kasa smart plug (~$12) + 2 WiZ smart bulbs (~$25). Gets you voice control and smart lighting in one room. Enough to evaluate whether smart home is for you.
Under $150: The above + 2–4 more bulbs for bedroom and hallway (~$40) + a second smart plug (~$12). A proper starter setup that covers the rooms you use most.
Under $300: The above + smart thermostat if you have central HVAC (~$130). A complete starter kit that covers lighting, plugs, and climate — the three categories where most smart home value lives.
Conclusion
The best smart home starter kit isn’t the one with the most devices — it’s the one you’ll actually use. A voice speaker, one smart plug, and two bulbs in the right room will do more for your daily life than a dozen devices scattered around a house with no coherent setup.
Start small. Pick one ecosystem and stay in it. Add devices only when you have a specific problem you want to solve. The people who end up with smart homes they love almost always got there by taking this approach — slowly, intentionally, one room at a time.
The people who buy a $500 starter bundle and set it all up in a weekend are also the people who sell it all on eBay two months later.